This is a Review of LH Labs GeekOut 450 and GeekOut 100 portable High-Res usb DACs. http://marketplace.lhlabs.com/collections/portable-audio, available on amazon: http://www.amazon.com/Geek-Out-IEM-100-Headphone/dp/B00NAJ450Y/?tag=vectron00-20 and http://www.amazon.com/Geek-Out-450-Headphone-Amplifier/dp/B00JD0CQ6E/?tag=vectron00-20
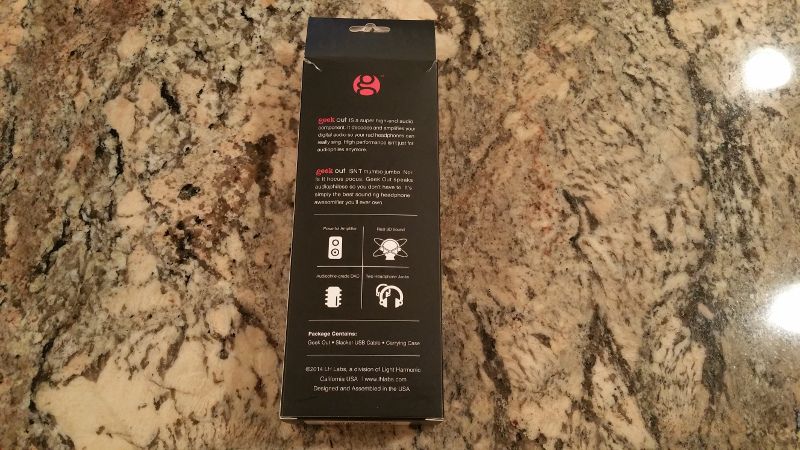
I thought I was done with my round of portable USB DAC reviews until I got contacted by LH Labs to check out their GeekOut series of portable hi-res DACs. Formed back in 2010 (under Light Harmonics name), LH Labs is well known and highly respected in audiophile world, and I was excited to release my inner-Geek Out-to-play with this new toy! After my recent series of reviews where I looked at half a dozen of different USB DAC models, I came to a conclusion that most of them have a lot of similarities in sound quality, and the biggest difference was mostly in extra features and exterior design details. Don’t get me wrong, they don’t sound exactly the same, but none of them made me go “Wow!” like I experienced it the first time I plugged my headphones into GeekOut 450.
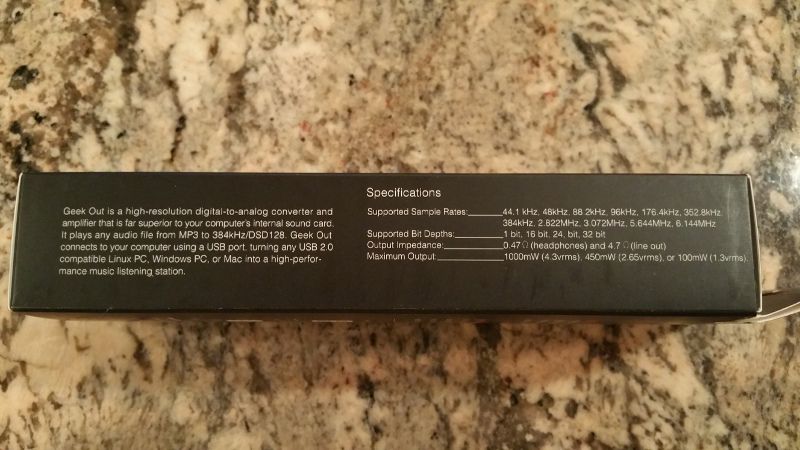
Even so GeekOut was crowdfunded (a very successful campaign), Light Harmonics Lab team is not novice and has a lot of other popular audio products behind their belt. From their famous Da Vinci USB DAC which pushed boundaries of 32bit 384kHz audio resolution to a number of other successful crowdsourcing campaigns with Pulse series DAC/headphone amp and the upcoming GeekWave DAP – they try to appeal to serious audiophile listeners who understand the meaning of high quality audio. The challenge with GeekOut was to encapsulate this high-res performance inside of a small portable USB DAC you can plug into your laptop or desktop and use as an external soundcard on the go. As a result you still have access to a very powerful ESS9018K2M DAC supporting 32b/384kHz sample rate and DSD playback which you can take anywhere with you in a pocket. But the most impressive result – they made this technology portable and affordable to get everyone’s attention, not just hardcore audiophiles. Due to design similarities between different GeekOut flavors, I will go into more details about GO450 and GO100 differences in sound analysis section, while the rest of the review will refer to them as GeekOut (or GO). So, let’s take a closer look at what I have found.
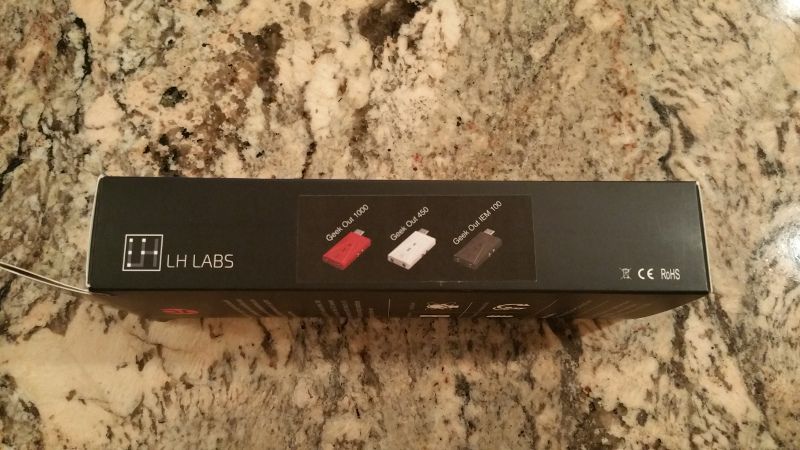
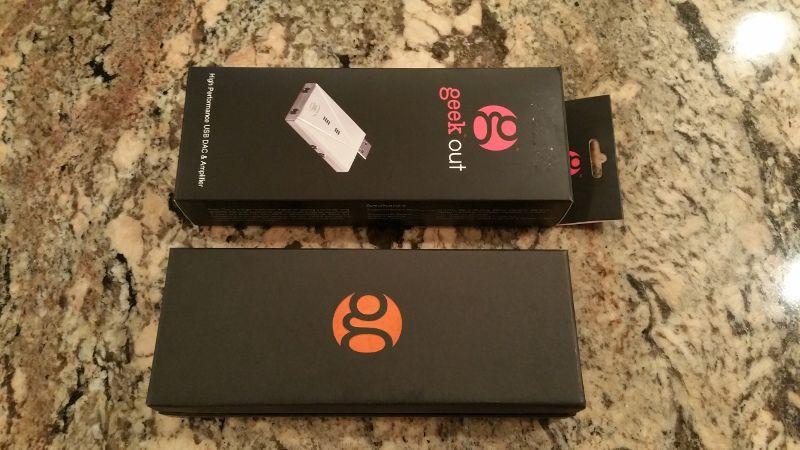
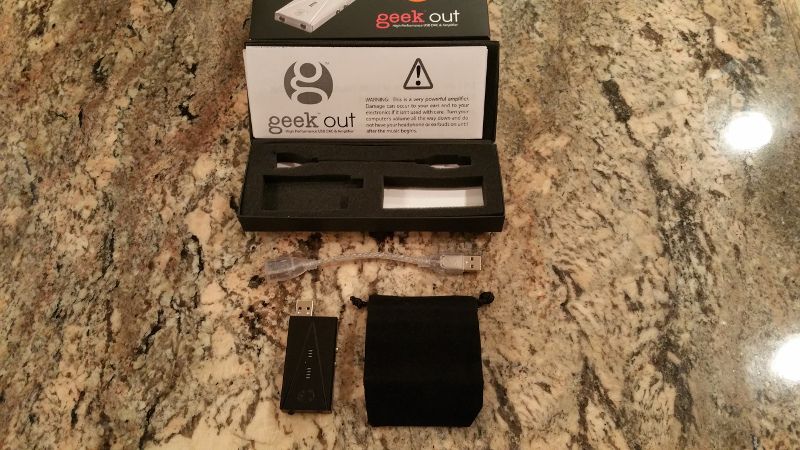
Arrived in a rather small packaging, you know right away you’re dealing with a portable powerhouse while looking at the box suited to fit a pair of sunglasses. It looks like the GO450 packaging had universal intention since there was a picture of GO100, GO450, and GO1000, including corresponding max power specs. GO100 packaging also had GO720 included in the list, quite understandable considering variety of GeekOut versions and logistics to use a common packaging, though each unit comes in a distinctive color where I received GO450 in silver and GO100 in black.
Unboxing GO450/100.

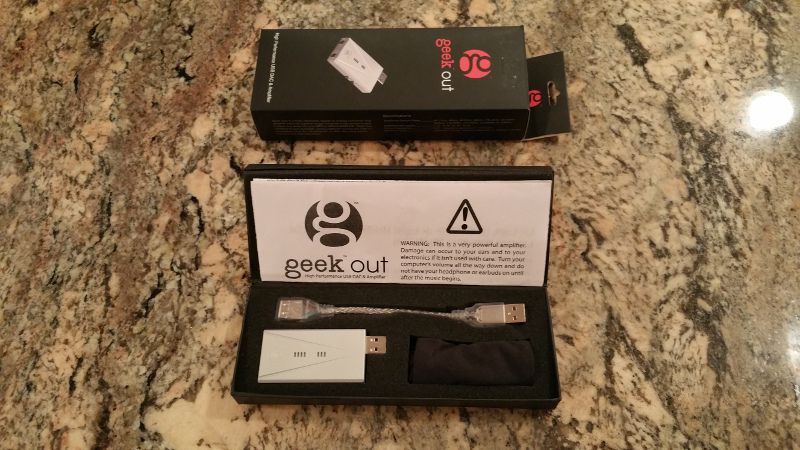
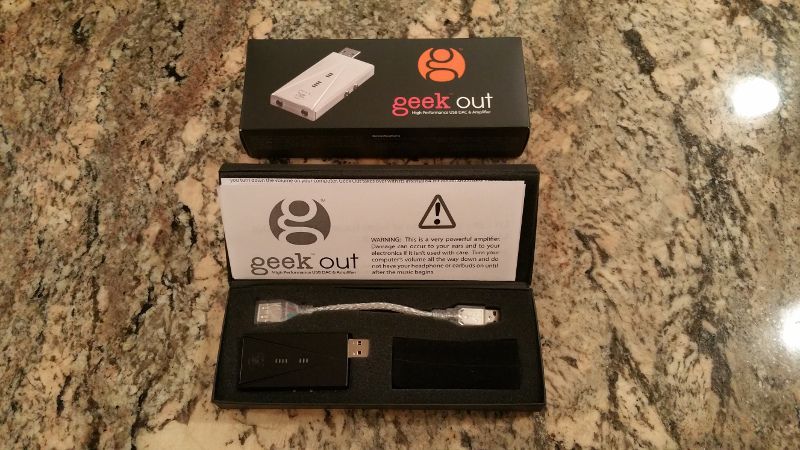
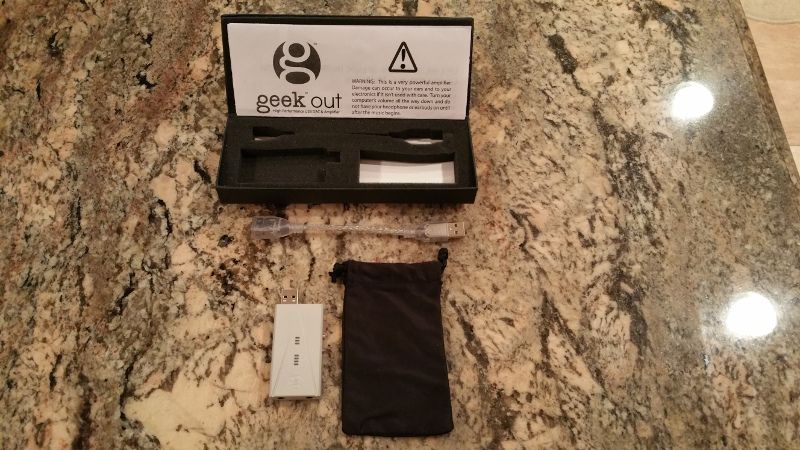
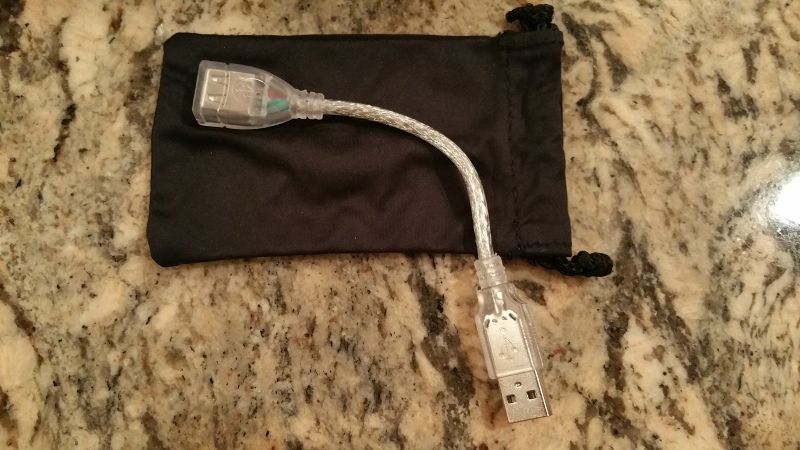
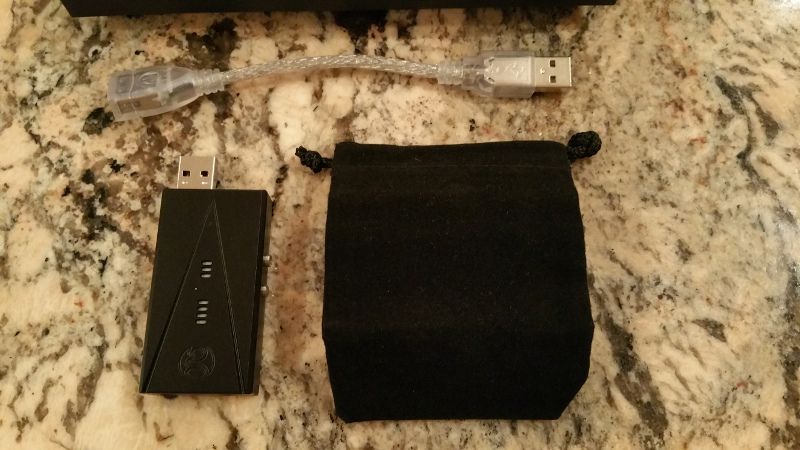
You are not going to find a large variety of accessories included with this product, only a short usb extension cable and a small storage draw string bag. Since GeekOut plugs directly into usb port of your computer, to prevent interference with other adjacent devices, usb extension cable is very convenient. But after my extensive testing, I actually found it to take an edge off the sound quality making audio a shade darker and a bit narrower in soundstage. I don’t think it’s just a quality of the cable since I also tested and found the same consistent results with GO and DragonTail extension cable. I’m used to dealing with headphone replacement cables for analog audio signal, but when it comes to high res audio and sampling of digital high bit-rate signal, degradation of the digital waveform will have a negative effect on sound quality as well. For the best audio performance results, I would strongly recommend connecting and using GeekOut directly from your computer.
Accessories GO450/100
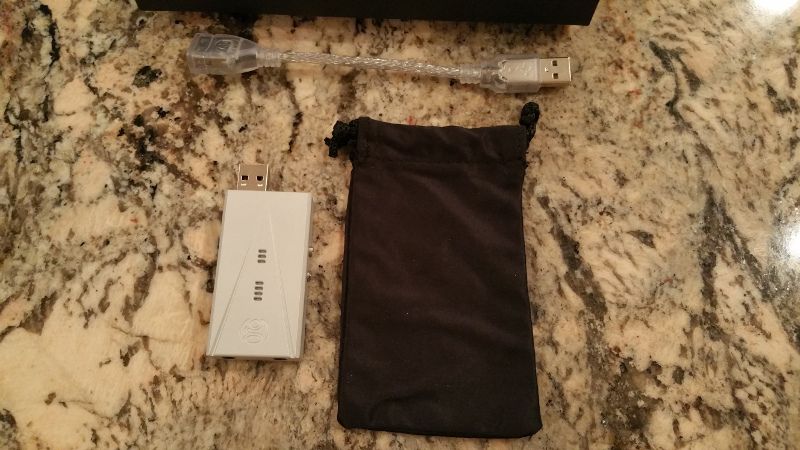
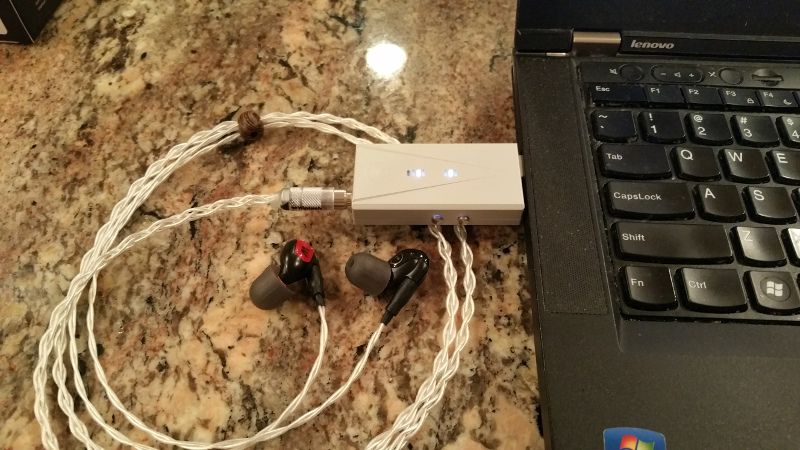
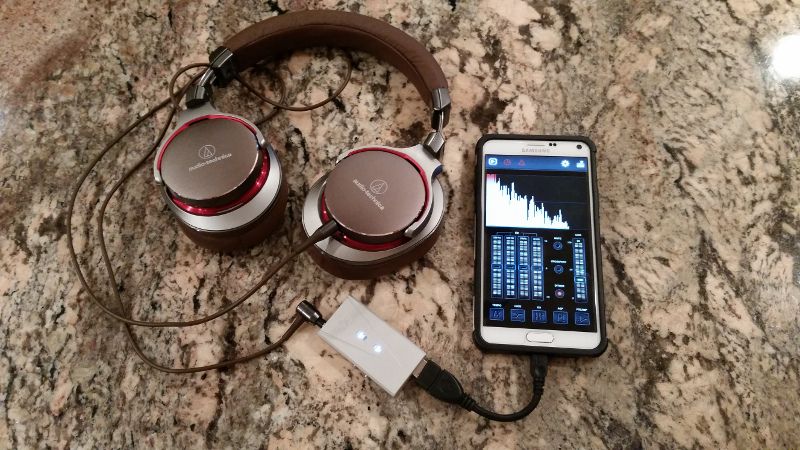
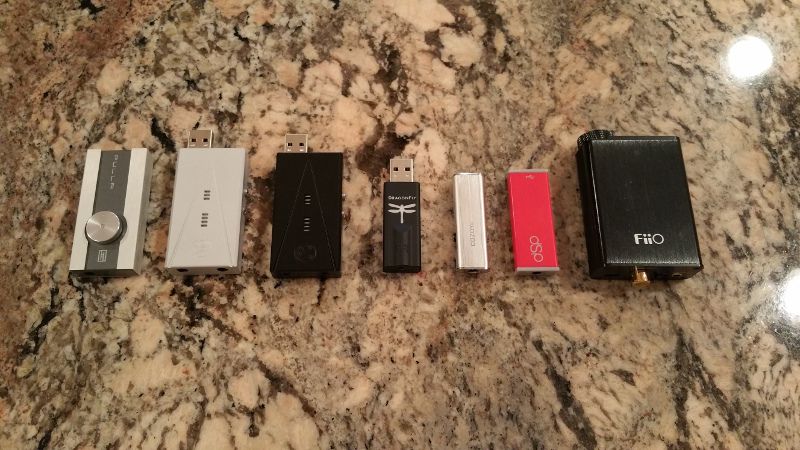
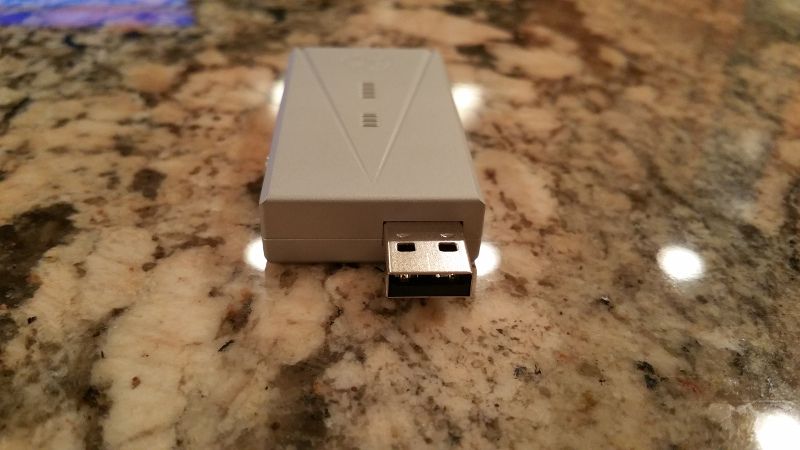
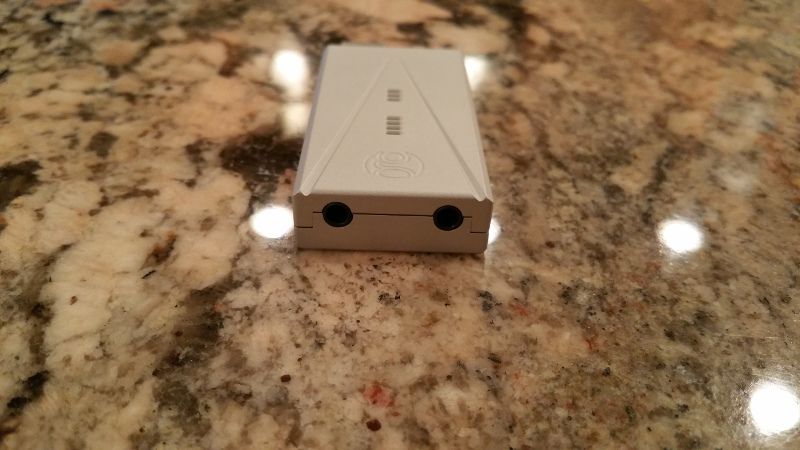
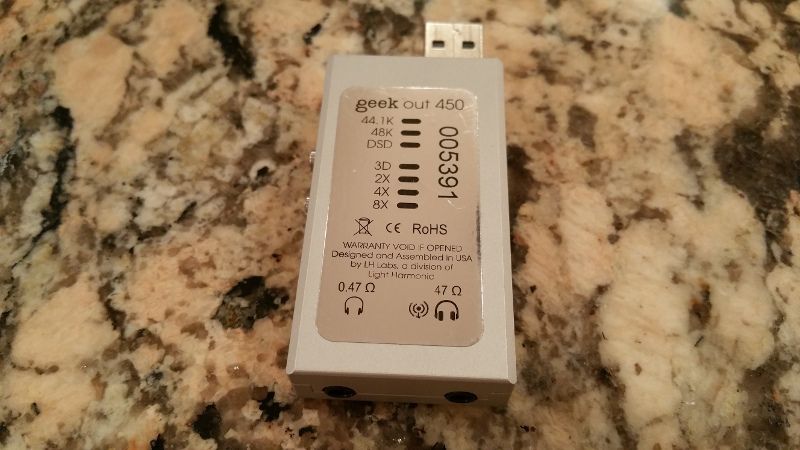
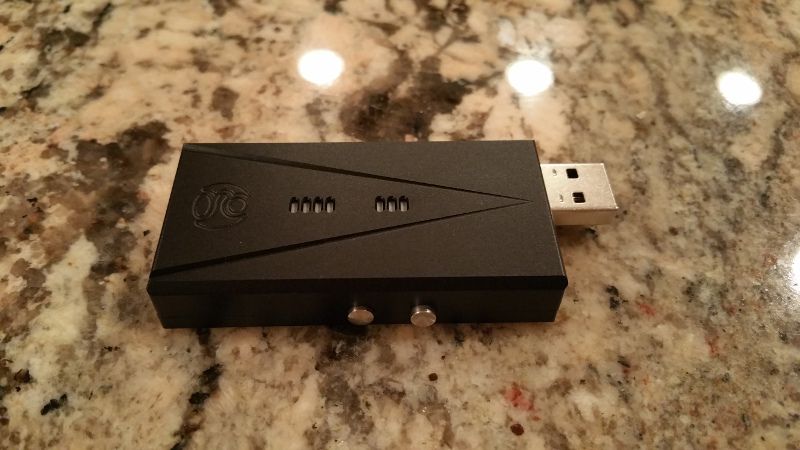
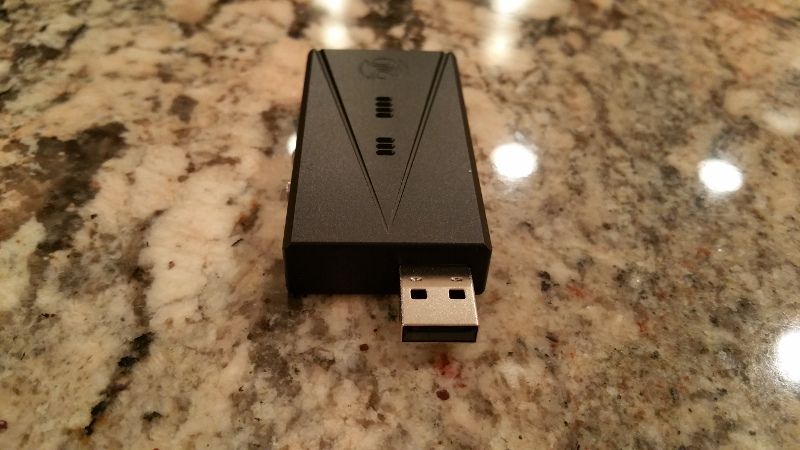
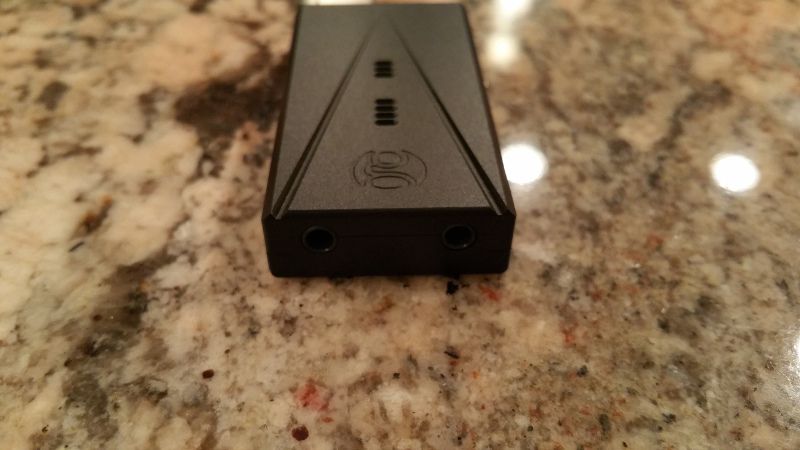
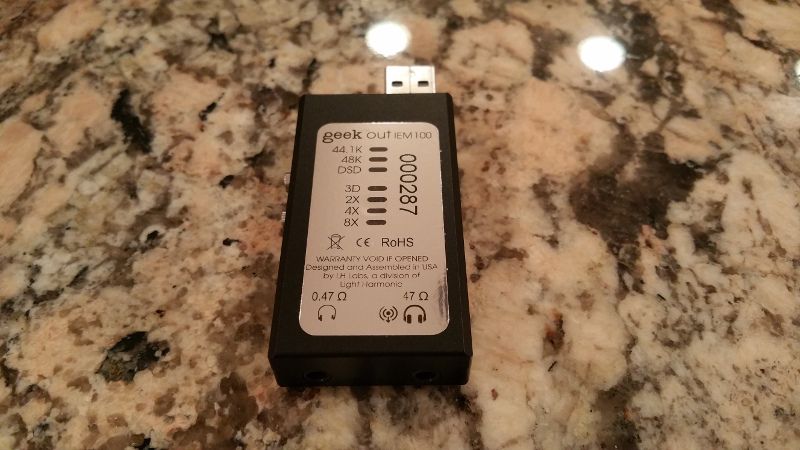
For a device with an impressive power spec, GeekOut actually has a very small footprint with dimensions of approximately 65mm x 35mm x 12mm (smaller than a deck of cards), and weight of about 35g. The first thing you notice is all aluminum enclosure with aircraft quality T6061 hardening alloy. The build is solid and it looks slick, but the main intent of the aluminum alloy enclosure is for heat dissipation since you can expect its DAC and Class A amplifier to run hot. The rectangular footprint of GO has full size usb connector on one end and dual 3.5mm output on the other end. You can connect headphones to both of these ports and control output volume simultaneously right from your computer. The difference between these ports is one having 0.47 ohm output impedance and the other one with 47 ohm output impedance, mentioned as Line Out in some references though it doesn’t function like a traditional LO set to a fixed max volume. Personally, I had no issues using either of these headphone ports, but expect different output loudness level due to impedance difference. As a matter of fact, for a better volume resolution 47 ohm output works great with higher sensitivity headphones so they don’t get too loud at low volume level.
There are also 7 LEDs on the top of the unit, partitioned in two groups of 4 LEDs (3D, 2x, 4x, 8x) and 3 LEDs (44.1k, 48k, DSD) corresponding to sample rates. Furthermore, there are 2 buttons on the side – a bit loose with not much of tactile response, but still usable. To be honest, I found these LEDs and button control to be a bit confusing, especially reading some old posts from people referencing early firmware functionality where buttons were used for volume control and later where buttons were suppose to change between Time Comprehension Mode (TCM) and Frequency Response Mode (FRM) digital filter modes. There is also mentioning of 3D “Awesomifier” mode which I assume 3D led refers to, though it didn’t lit up for me. The bottom line, 3 LEDs indicating a playback sample rate are straight forward and quite informative. Regarding other 4 LEDs – I wouldn’t even care and just leave it as is. Upon power up the sound is already 3D and sounds “awesomified” to me!
Design details GO450/100

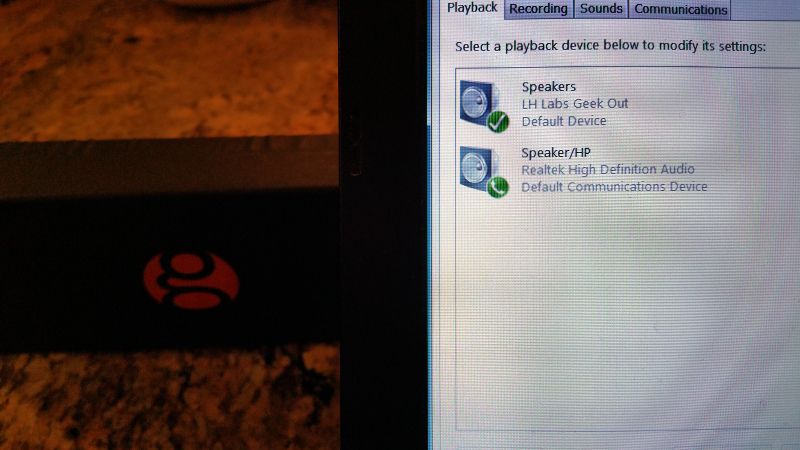
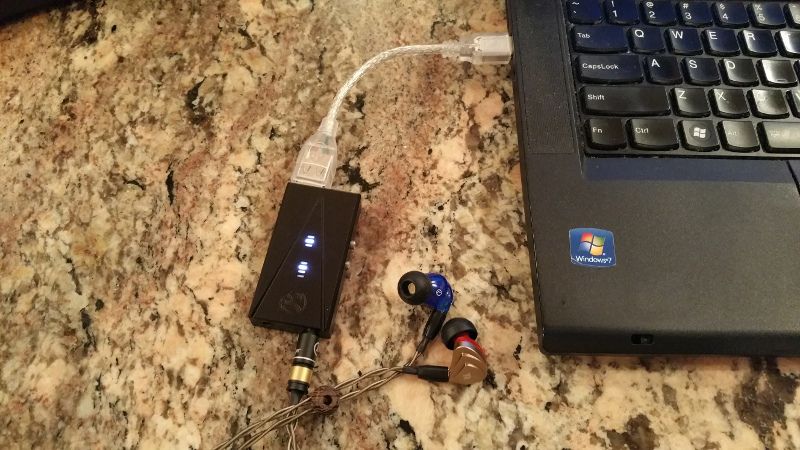
Connection and pair up with a laptop was straight forward, though the first time it’s not a typical plug’n’play and you do need to manually download and install drivers from LH Labs website. The same goes for additional drivers required for Foobar2k setup to play high resolution lossless files. I don’t have too many DSD files in my collection and only use a few with my portable DAPs for testing. Even so I got all the necessary drivers for Foobar2k setup, I still had no luck playing DSD (issue related to my laptop setup), but no issues otherwise with high-res FLACs.
After the initial driver install and setup, GeekOut was recognized instantaneously every time I plugged it in. Also, as expected, unit got rather hot even after a short period of operation. The aluminum case worked great as a heatsink, but you do have to be aware not to touch the case. This also brings me to another very important point regarding usb-cable extension. When GeekOut is plugged into your laptop or computer USB directly, it’s fixed with surface being “air-cooled”. Once you connect it through usb cable, it dangles down and comes in a contact with a surface while being hot. This just reinforces my previous point about trying to use GeekOut connected directly to your computer.
I thought I was done with my round of portable USB DAC reviews until I got contacted by LH Labs to check out their GeekOut series of portable hi-res DACs. Formed back in 2010 (under Light Harmonics name), LH Labs is well known and highly respected in audiophile world, and I was excited to release my inner-Geek Out-to-play with this new toy! After my recent series of reviews where I looked at half a dozen of different USB DAC models, I came to a conclusion that most of them have a lot of similarities in sound quality, and the biggest difference was mostly in extra features and exterior design details. Don’t get me wrong, they don’t sound exactly the same, but none of them made me go “Wow!” like I experienced it the first time I plugged my headphones into GeekOut 450.
Even so GeekOut was crowdfunded (a very successful campaign), Light Harmonics Lab team is not novice and has a lot of other popular audio products behind their belt. From their famous Da Vinci USB DAC which pushed boundaries of 32bit 384kHz audio resolution to a number of other successful crowdsourcing campaigns with Pulse series DAC/headphone amp and the upcoming GeekWave DAP – they try to appeal to serious audiophile listeners who understand the meaning of high quality audio. The challenge with GeekOut was to encapsulate this high-res performance inside of a small portable USB DAC you can plug into your laptop or desktop and use as an external soundcard on the go. As a result you still have access to a very powerful ESS9018K2M DAC supporting 32b/384kHz sample rate and DSD playback which you can take anywhere with you in a pocket. But the most impressive result – they made this technology portable and affordable to get everyone’s attention, not just hardcore audiophiles. Due to design similarities between different GeekOut flavors, I will go into more details about GO450 and GO100 differences in sound analysis section, while the rest of the review will refer to them as GeekOut (or GO). So, let’s take a closer look at what I have found.
Arrived in a rather small packaging, you know right away you’re dealing with a portable powerhouse while looking at the box suited to fit a pair of sunglasses. It looks like the GO450 packaging had universal intention since there was a picture of GO100, GO450, and GO1000, including corresponding max power specs. GO100 packaging also had GO720 included in the list, quite understandable considering variety of GeekOut versions and logistics to use a common packaging, though each unit comes in a distinctive color where I received GO450 in silver and GO100 in black.
Unboxing GO450/100.
You are not going to find a large variety of accessories included with this product, only a short usb extension cable and a small storage draw string bag. Since GeekOut plugs directly into usb port of your computer, to prevent interference with other adjacent devices, usb extension cable is very convenient. But after my extensive testing, I actually found it to take an edge off the sound quality making audio a shade darker and a bit narrower in soundstage. I don’t think it’s just a quality of the cable since I also tested and found the same consistent results with GO and DragonTail extension cable. I’m used to dealing with headphone replacement cables for analog audio signal, but when it comes to high res audio and sampling of digital high bit-rate signal, degradation of the digital waveform will have a negative effect on sound quality as well. For the best audio performance results, I would strongly recommend connecting and using GeekOut directly from your computer.
Accessories GO450/100
For a device with an impressive power spec, GeekOut actually has a very small footprint with dimensions of approximately 65mm x 35mm x 12mm (smaller than a deck of cards), and weight of about 35g. The first thing you notice is all aluminum enclosure with aircraft quality T6061 hardening alloy. The build is solid and it looks slick, but the main intent of the aluminum alloy enclosure is for heat dissipation since you can expect its DAC and Class A amplifier to run hot. The rectangular footprint of GO has full size usb connector on one end and dual 3.5mm output on the other end. You can connect headphones to both of these ports and control output volume simultaneously right from your computer. The difference between these ports is one having 0.47 ohm output impedance and the other one with 47 ohm output impedance, mentioned as Line Out in some references though it doesn’t function like a traditional LO set to a fixed max volume. Personally, I had no issues using either of these headphone ports, but expect different output loudness level due to impedance difference. As a matter of fact, for a better volume resolution 47 ohm output works great with higher sensitivity headphones so they don’t get too loud at low volume level.
There are also 7 LEDs on the top of the unit, partitioned in two groups of 4 LEDs (3D, 2x, 4x, 8x) and 3 LEDs (44.1k, 48k, DSD) corresponding to sample rates. Furthermore, there are 2 buttons on the side – a bit loose with not much of tactile response, but still usable. To be honest, I found these LEDs and button control to be a bit confusing, especially reading some old posts from people referencing early firmware functionality where buttons were used for volume control and later where buttons were suppose to change between Time Comprehension Mode (TCM) and Frequency Response Mode (FRM) digital filter modes. There is also mentioning of 3D “Awesomifier” mode which I assume 3D led refers to, though it didn’t lit up for me. The bottom line, 3 LEDs indicating a playback sample rate are straight forward and quite informative. Regarding other 4 LEDs – I wouldn’t even care and just leave it as is. Upon power up the sound is already 3D and sounds “awesomified” to me!
Design details GO450/100
Connection and pair up with a laptop was straight forward, though the first time it’s not a typical plug’n’play and you do need to manually download and install drivers from LH Labs website. The same goes for additional drivers required for Foobar2k setup to play high resolution lossless files. I don’t have too many DSD files in my collection and only use a few with my portable DAPs for testing. Even so I got all the necessary drivers for Foobar2k setup, I still had no luck playing DSD (issue related to my laptop setup), but no issues otherwise with high-res FLACs.
After the initial driver install and setup, GeekOut was recognized instantaneously every time I plugged it in. Also, as expected, unit got rather hot even after a short period of operation. The aluminum case worked great as a heatsink, but you do have to be aware not to touch the case. This also brings me to another very important point regarding usb-cable extension. When GeekOut is plugged into your laptop or computer USB directly, it’s fixed with surface being “air-cooled”. Once you connect it through usb cable, it dangles down and comes in a contact with a surface while being hot. This just reinforces my previous point about trying to use GeekOut connected directly to your computer.