
Carbon Fiber Back Mod - Install & Tutorial
Hi all,
mikevember started a thread, http://androidforums.com/htc-evo-4g/78740-carbon-fiber-4g-back.html, a while back which inspired myself and a number of others to look further into it and try it out. Since I wound up purchasing a Google IO Evo, I'm the first to go.
So I documented everything here for you all.
First, you'll see that I ordered two sheets, one light and one dark carbon fiber.
I wasn't sure which one I'd want, so I said the hell with it and got one of each. And worse case scenario, if I screwed the first install, I could rip it off then use the other sheet to try again.
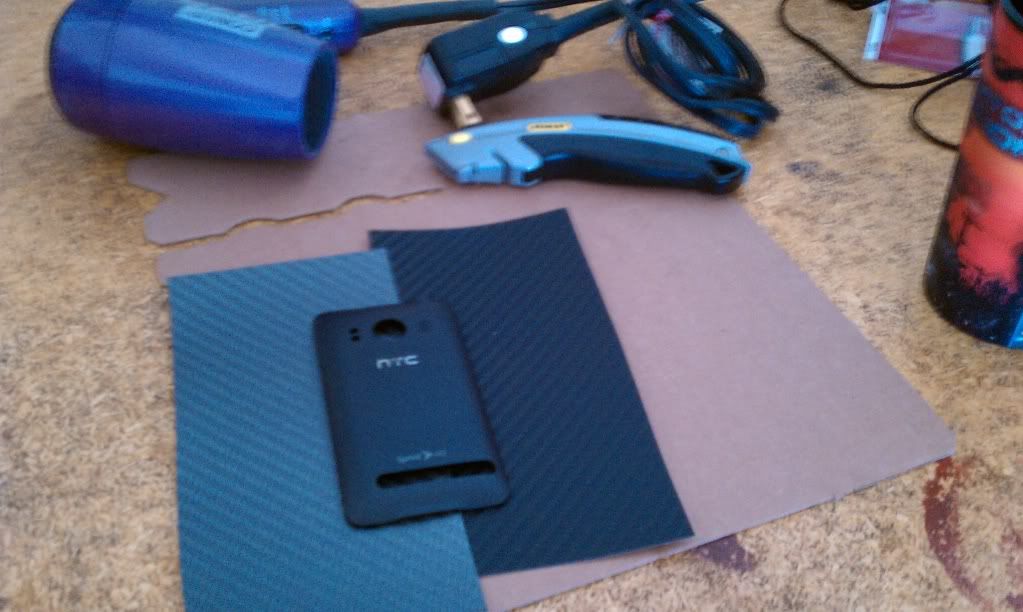
Tools:
- Hair Dryer
- Utility Knife
- Cardboard to cut on
- Sewing Needle
- Scissors
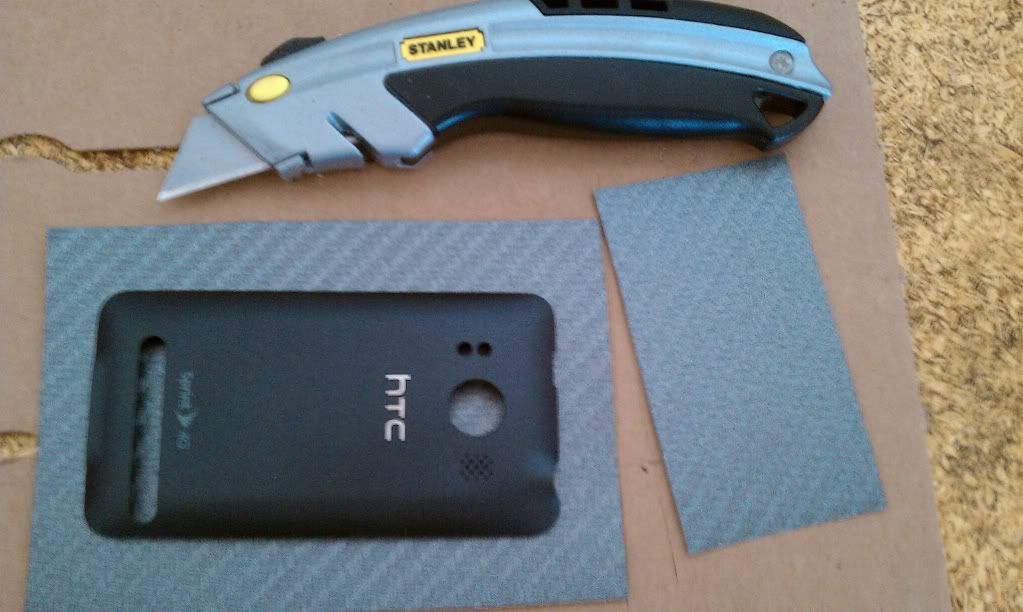
First you'll see I cut a chunk of the decal away, since I wouldn't need it. I figured I'd practice first, so took the cap to a spray can that was curvy, and worked with that. Here's a few samples.
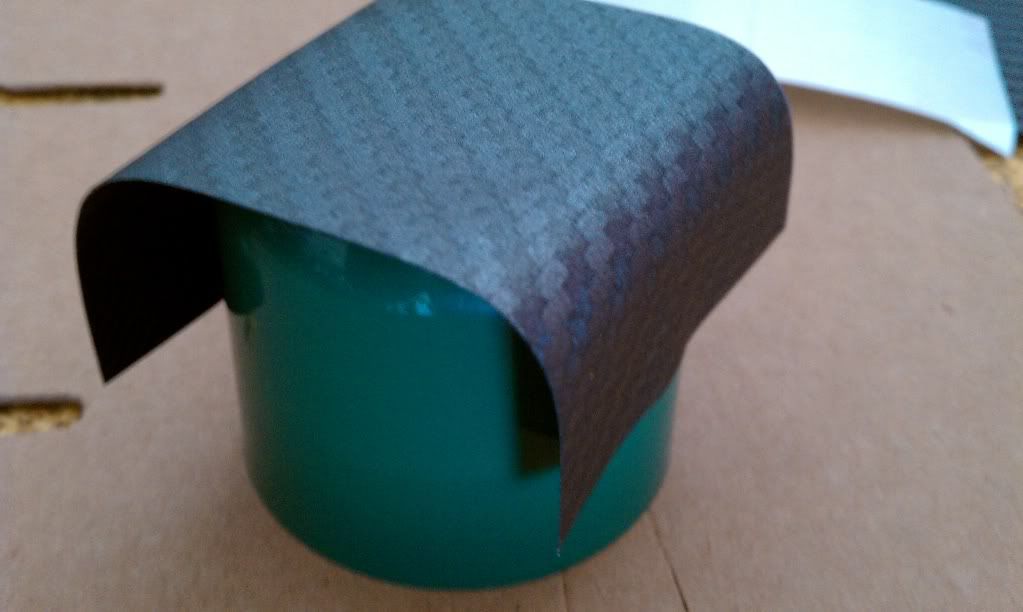
I was able to pull the decal on and off, stretch and restretch it, as I kept heating it. I played around for several minutes and this material is very forgiving. It won't "permanently" shrink like say, saran wrap, which helps a lot. But at the same time, that means the material won't wrap around tighter curves as well, but that's okay.
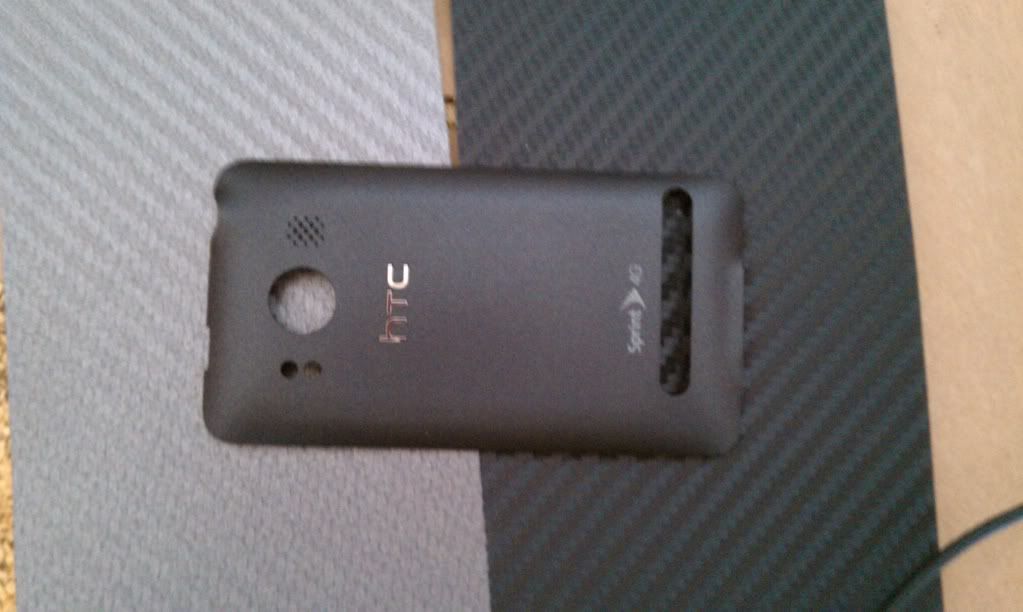
Okay, onto the Evo.
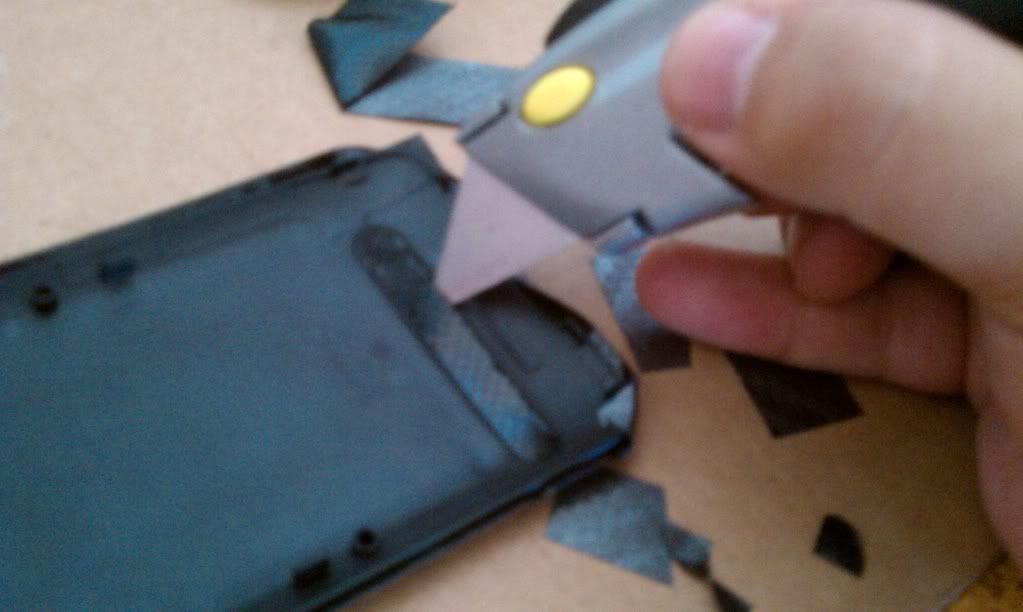
Here I am now applying the decal.
Once I did this, I started to cut away the excess using scissors then used the utility knife for closer trimming. After this, I heated the hell out of it for several minutes, pressing up the sides to encourage adhesion shrinking.
Then I cut out the hole for the camera lens and kickstand.
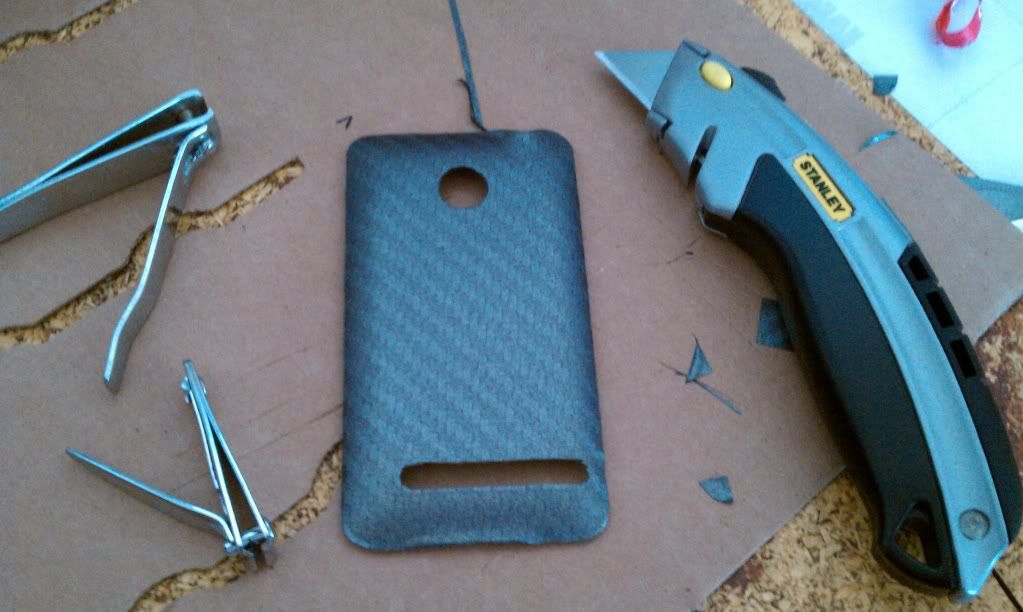
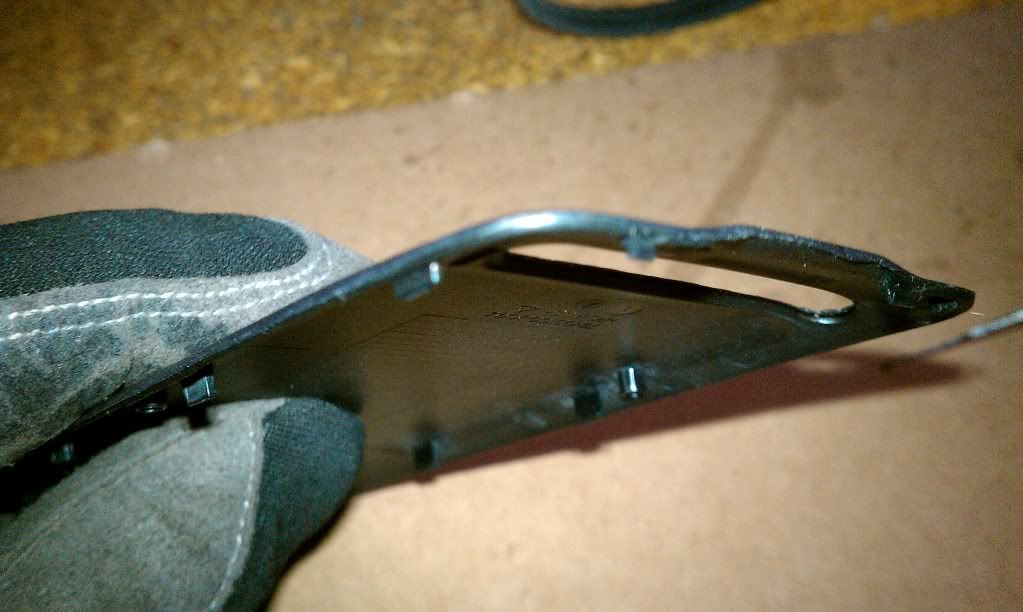
Then I went back and trimmed up the edges as best I could. I noticed that nail clippers, curved and straight, helped tremendously in cleaning things up. Normal curved nail clippers worked really well for trimming the rounded corners.
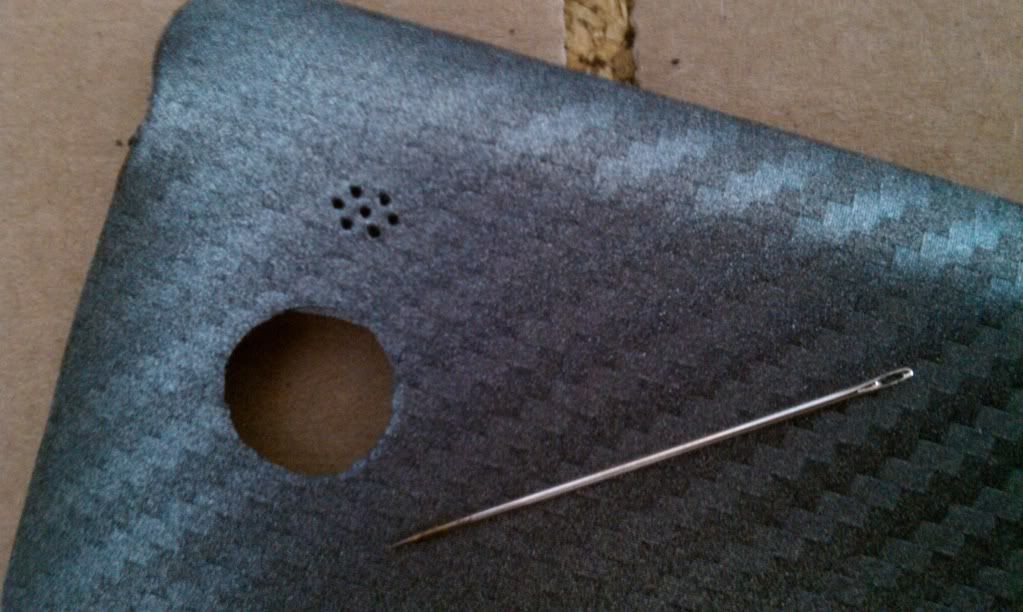
Next, I used a needle to pop out the holes for the speaker. I first poked from the inside of the back, then pushed the needle back through the outside of the back.
Finally, I cut the holes for the flash. That was the biggest pain in the ass for two reasons. First, I used the "cut a +" technique that I posted from a tutorial video in the original thread. Don't do that... cut a circle out instead. Eventually I was able to trim away as much of the excess as possible but it was a royal bitch, because the holes are so small.
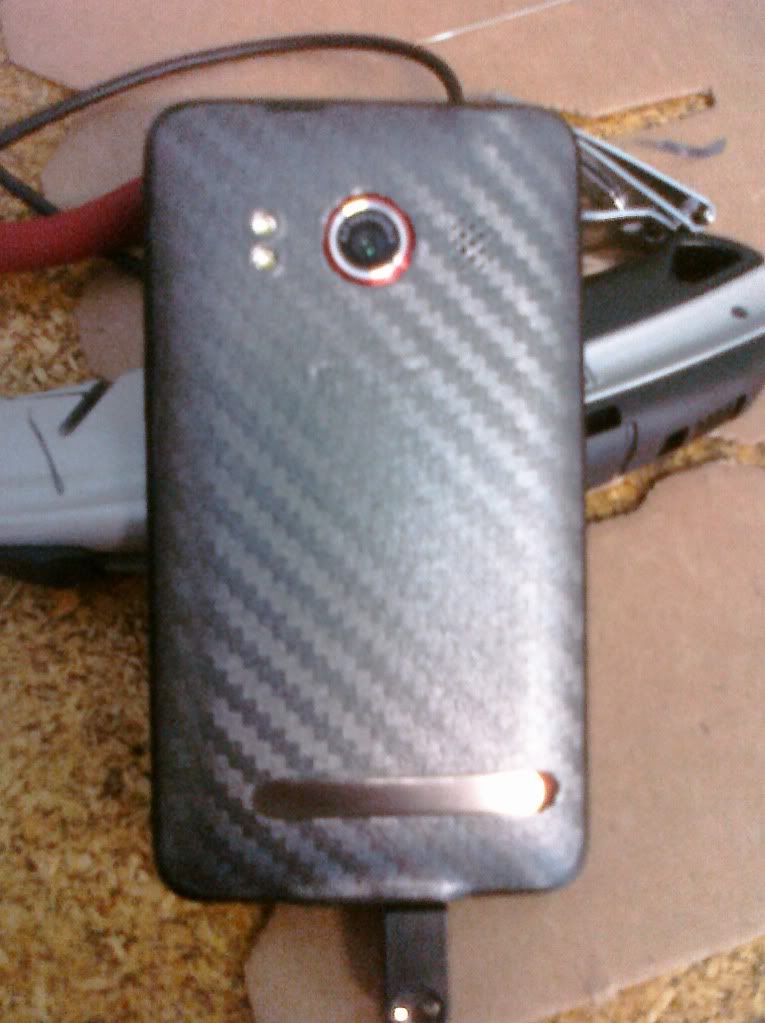
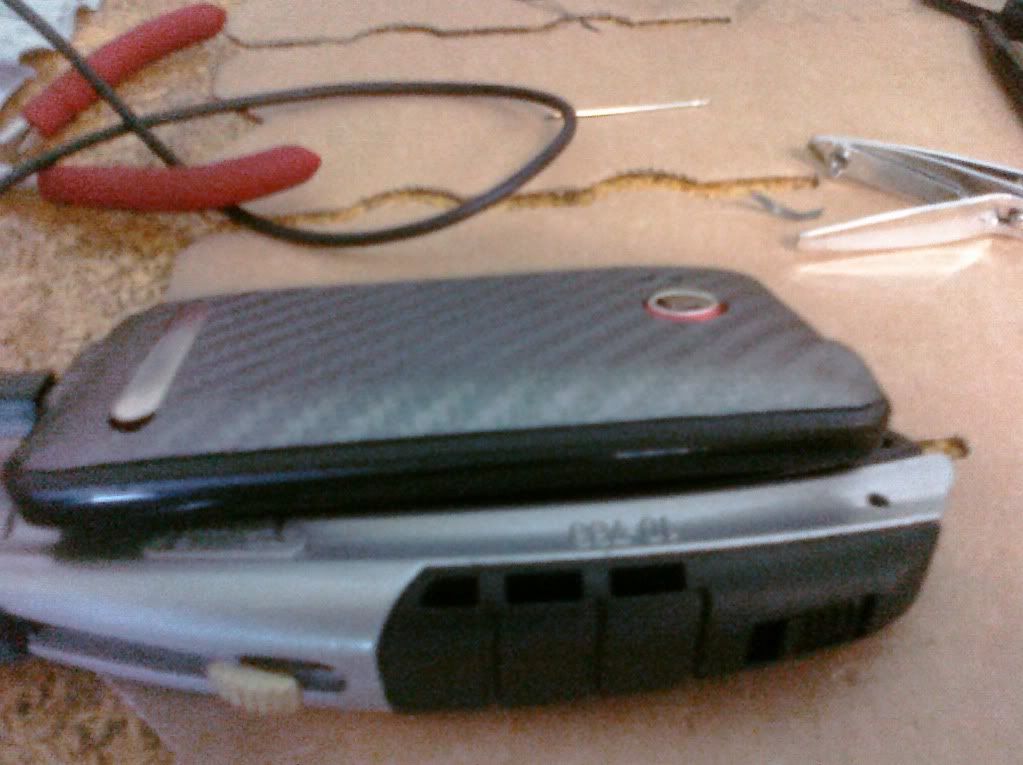
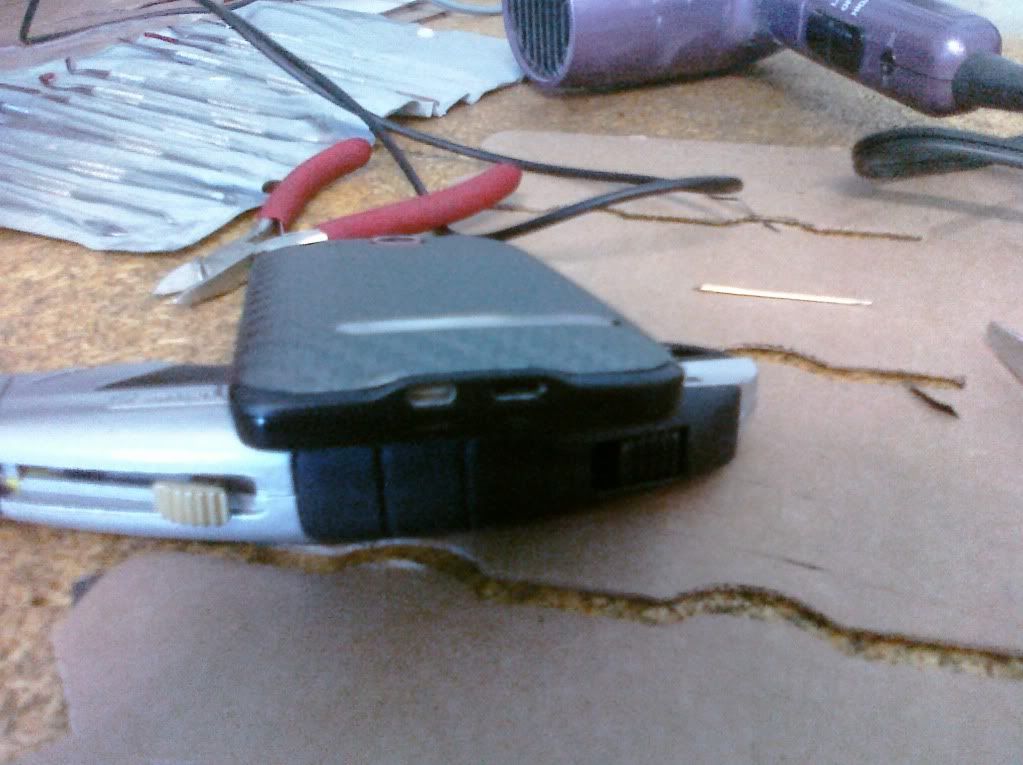
And here's the final result!
Hi all,
mikevember started a thread, http://androidforums.com/htc-evo-4g/78740-carbon-fiber-4g-back.html, a while back which inspired myself and a number of others to look further into it and try it out. Since I wound up purchasing a Google IO Evo, I'm the first to go.
So I documented everything here for you all.
First, you'll see that I ordered two sheets, one light and one dark carbon fiber.
I wasn't sure which one I'd want, so I said the hell with it and got one of each. And worse case scenario, if I screwed the first install, I could rip it off then use the other sheet to try again.
Tools:
- Hair Dryer
- Utility Knife
- Cardboard to cut on
- Sewing Needle
- Scissors
First you'll see I cut a chunk of the decal away, since I wouldn't need it. I figured I'd practice first, so took the cap to a spray can that was curvy, and worked with that. Here's a few samples.
I was able to pull the decal on and off, stretch and restretch it, as I kept heating it. I played around for several minutes and this material is very forgiving. It won't "permanently" shrink like say, saran wrap, which helps a lot. But at the same time, that means the material won't wrap around tighter curves as well, but that's okay.
Okay, onto the Evo.
Here I am now applying the decal.
Once I did this, I started to cut away the excess using scissors then used the utility knife for closer trimming. After this, I heated the hell out of it for several minutes, pressing up the sides to encourage adhesion shrinking.
Then I cut out the hole for the camera lens and kickstand.
Then I went back and trimmed up the edges as best I could. I noticed that nail clippers, curved and straight, helped tremendously in cleaning things up. Normal curved nail clippers worked really well for trimming the rounded corners.
Next, I used a needle to pop out the holes for the speaker. I first poked from the inside of the back, then pushed the needle back through the outside of the back.
Finally, I cut the holes for the flash. That was the biggest pain in the ass for two reasons. First, I used the "cut a +" technique that I posted from a tutorial video in the original thread. Don't do that... cut a circle out instead. Eventually I was able to trim away as much of the excess as possible but it was a royal bitch, because the holes are so small.
And here's the final result!


") No phone to stick it on yet though...
No phone to stick it on yet though...


