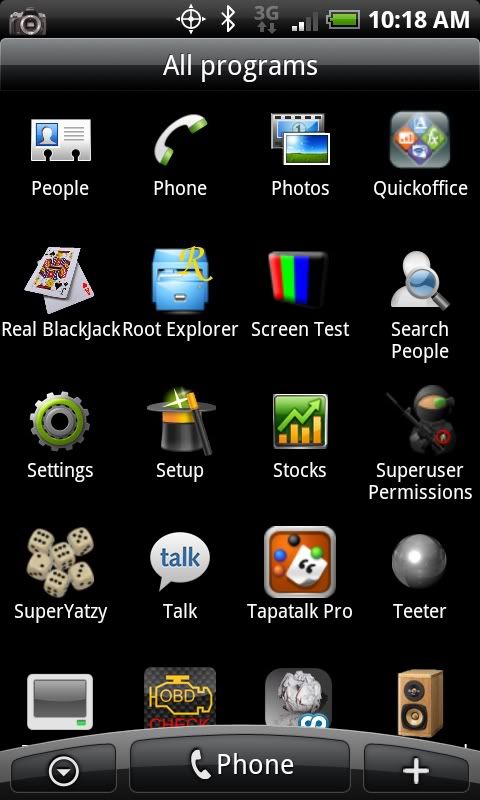
I DID NOT MAKE THE ROOT PROCEDURE ALL PROPS GO TO THE TEAM AT
UNREVOKED. I just tacked on the perm procedure and regurgitated it in my own words. \
************DISCLAIMER**********
I nor anyone else is responsible if you break your phone. try this at your own risk!!
***********END DISCLAIMER**************
Original procedure here:
public:adb_in_recovery [RootWiki]
donate here:
https://secure.eff.org/site/Donatio...OXY_ID=1570&PROXY_TYPE=22&1840.donation=form1
I am just compiling the Current procedure here.
Install the android SDK
Android SDK | Android Developers
Install HTC Sync From your internal storage.
Download these three files and place them into your android sdk/tools folder (wherever you installed it)
http://www.shadowmite.com/temp/payload-update.zip
http://www.unrevoked.com/incredible/ota.zip
http://www.unrevoked.com/incredible/busybox
Download this file and extract su and Superuser.apk from it
http://bit.ly/brI0EV
Move su and Superuser.apk to your Android SDK/Tools folder
Click on start
then on box at the bottom of your start menu
type cmd
a command window will pop up
navigate to the android SDk Tools directory
type edit loop.bat
in edit enter the following
Code:
@echo off
:TOP
adb shell
GOTO TOP
press alt-f then x
hit enter for yes
***********ADDED BOTH METHODS for shell in recovery*****************
credit to you_eeeeeediot @ XDA for the new procedure
type loop in the command window and press enter
the screen should fill up with "Error - Device not found"
Unplug the USB
Press and hold the optical Trackball and press power
Once in the menu press power again
Wait 20 seconds for it to do its bit
Plug USB in and wait another 10 seconds for your computer to detect the phone
press menu down to highlight "recovery"
Press power
wait 20 seconds
the screen should change from "error: device not found" to "exec '/system/bin/sh' failed: No such file or directory (2) -"
If you do not get this message within 10-30 seconds pull the battery and do it over again.
Once you get the above message then click on the cmd window and press ctrl-C to stop the batch file.
If It works skip the method 2 part.
If this doesnt work ... try method 2
*****************Method 2*************************
Shut the phone off
plug the phone into USB
in the command window and type loop
the screen should fill up with "Error - Device not found"
Press the and hold the volume down button then press and hold power
once in the menu press volume down to highlight "recovery"
Press the power button
the screen should change from "error: device not found" to "error: device not found" to "exec '/system/bin/sh' failed: No such file or directory (2) -"
If you do not get this message within 10-30 seconds pull the battery and do it over again.
*****************end method 2**********************
now you should still be in the triangle with the ! screen. press vol up and power to go back to the menu. DO NOT REBOOT.
Press vol down to highlight "apply: update.zip" and press the power button
It will fail at this.
Go back to the CMD window and type the following commands.
Code:
adb push busybox /sdcard/busybox
adb push ota.zip /sdcard/update.zip
adb push su /sdcard/su
adb push Superuser.apk /sdcard/Superuser.apk
Now type the next command but DO NOT PRESS ENTER YET
Code:
adb push payload-update.zip /sdcard/update.zip
Now press the power button on Apply: update.zip within 1/2 second press enter on the command window to execute the above command.
If successful you should see


